
Tutorial with Pictures: How to Make Ombre Nails Like a Pro
Curious about how to do ombre nails? We’ve got your back. You will love these Instagram nail art videos. If you’re a beginner, the ombre effect can be difficult and may require expert guidance. You can learn how to master this art in the privacy of your own home. Below are 5 stunning DIY nail art designs. These can be done with or without sponges. You can create ombre gradient nails at your home by letting your inner artist loose.
How To Do Ombre Nails: Step-By-Step Tutorial (Pictures)
It is best, to begin with, the French ombre if you are starting. A French ombre is a French manicure in which the white tips of the nails gradually blend into the flesh or nude base. This allows for a more subtle distinction between the tip and base. Although this may sound daunting, it is easy to do with this step-by-step tutorial (with photos).
What you need
- Base coat (clear nail polish)
- White nail varnish
- Nail polishes in nude or flesh tones
- Liquid latex tape
- Nail polish remover
- Use a Q-tip or a small brush to clean your skin.
- Disposable makeup sponge
- Top coat
Step 1: Apply the Base Coat
Start with perfectly manicured nails. Let dry your nails after applying the base coat.
Step 2: Apply the Flesh-Toned Nail Polish or The Nude
Two coats of flesh-toned or nude nail polish are applied and allowed to dry.
Step 3: Apply the Liquid Latex Tape to The Cuticles
Use the liquid latex tape to wrap your nails. The liquid latex tape protects your skin from any mess and is easy to peel off. It should dry completely before you move on to the next step.
Step 4: Apply the White Nail Polish to The Sponge
Apply a generous amount of white nail polish to the tip of your disposable sponge.
Step 5: Apply the Flesh-Toned Nail Polish to The Sponge
To create a gradient effect, layer a generous amount of nude or flesh-toned polish under the sponge tip.
Step 6: Apply the Sponge To The Nail
Place the sponge at the tip of your nail and apply the polish to your nails.
Step 7: Repeat Steps 5 and 6
To achieve the desired intensity, add more nail polish to the sponge. It should dry completely before you move on to the next step.
Step 8: Take off the Liquid Latex Tape
Use a brush or your fingertips to remove the liquid latex tape.
Step 9: Apply the Top Coat
To give your nails a glossy look, apply the top coat.
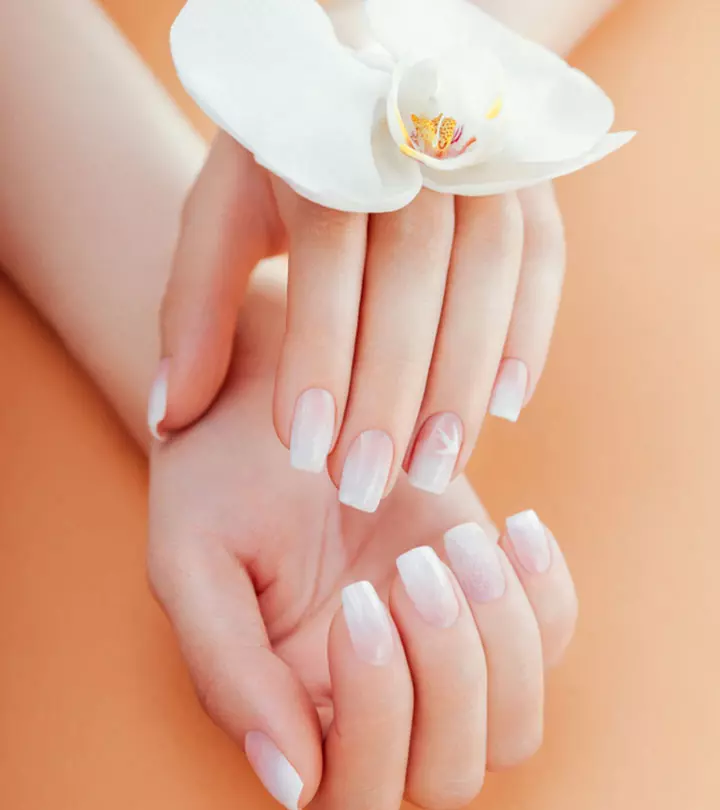
Final Result
Ave it – beautiful French ombre nails. You can use multiple colours to create an ombre effect or glamorous glitter ombre nails. The following videos will help you understand how to create colourful ombre nails and glitter. Could you scroll down to check them out?