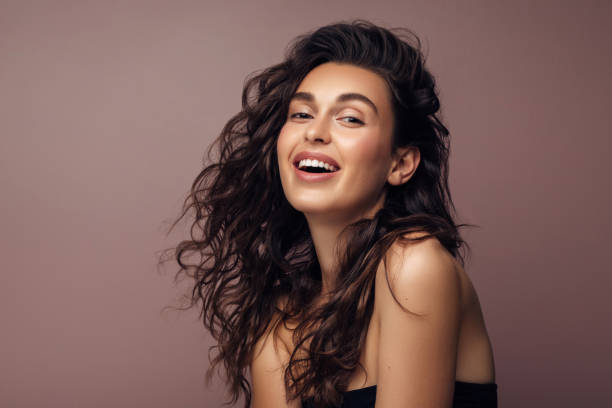
The way you apply makeup can make or break your appearance in photos. Stop searching for the perfect angle and instead focus on bringing your best features out with these six steps.
Prep and Prime.
Primer is an excellent first step in daily makeup because it makes foundation last longer. This is especially true before taking photos. It can blur fine lines, acne scars, and large pores. This will also allow you to use less foundation and prevent that caked-on look. Choose the best light for your selfie to show off flawless skin. The best lighting is natural but indirect light from a window or doorway.
Blend, blend, blend some more.
Camera flashes, as well as certain Instagram filters, are able to pick up on poorly blended makeup. Ouch! Blend all eye and face makeup to avoid harsh lines or patches. One of our favorite ways to prevent bright under-eyes (like reversed raccoon eye) is to mix a little foundation with concealer. It will tone down the concealer without affecting its ability to reduce dark circles. Hold your phone near your face but slightly above it. This will help you to streamline your features. Set the shutter to a timer so you have a few minutes to get the perfect angle. You can use your iWatch to set the shutter on timed and then adjust your phone.
Apply a finishing dust.
Before you search for the perfect filter, a translucent finishing powder will help you get the closest to the airbrushed look. After applying your face makeup (foundation, bronzer, and blush), lightly buff on a translucent powder to fill in pores and fine wrinkles. Blend well, as a flashback can make you look powdery. Remember that even a photo with one or two flaws can be transformed into something spectacular with the right effects. Try different filters, cropping options, color saturation, and resolution settings until you are happy with your results. High Dynamic Range makes colors really pop.
Fill in the eyebrows.
If the eyes are the window to the soul, then eyebrows are its frames. The tails of the eyebrows at the outer corner can be so thin that they almost disappear in pictures. This leaves your look incomplete. Fill in your eyebrow arches with an eyebrow gel, pencil, or powder to keep them looking polished and full. Blend with a brush to achieve a natural, soft finish. When taking a photo outside, stand so that the sun is directly behind you. You’ll be able to avoid harsh lighting, which can wash out your features. This includes those perfectly shaped eyebrows.
Use gel or liquid eyeliner.
The eyeliner pencils will give you a soft and smoky appearance. For the top lashline, we recommend a liquid or gel formula. Gel and liquid eyeliners have a high pigmentation, which makes them more vibrant, making eyes appear bigger with longer lashes. They are also less likely to smudge or run throughout the day. When taking a classic selfie with your face facing forward, you should always be looking at the lens of the camera and not the screen on which you can see yourself. Your eyes will look straight ahead, and your picture will be more appealing to your followers.
Choose a lip color with a cool tone.
The burgundy, coral, and nude shades we love are not always the best for photos. Warm lip colors can bring out yellow undertones in your teeth and make you look less than radiant. Cooler shades like beige, rosy pinks, and deep blue-based colors can make teeth look whiter. Apply your favorite cool lip color after lining your lips with a similar shade to your natural lips. This will make your smile really pop. Be yourself! Let your personality shine!

